
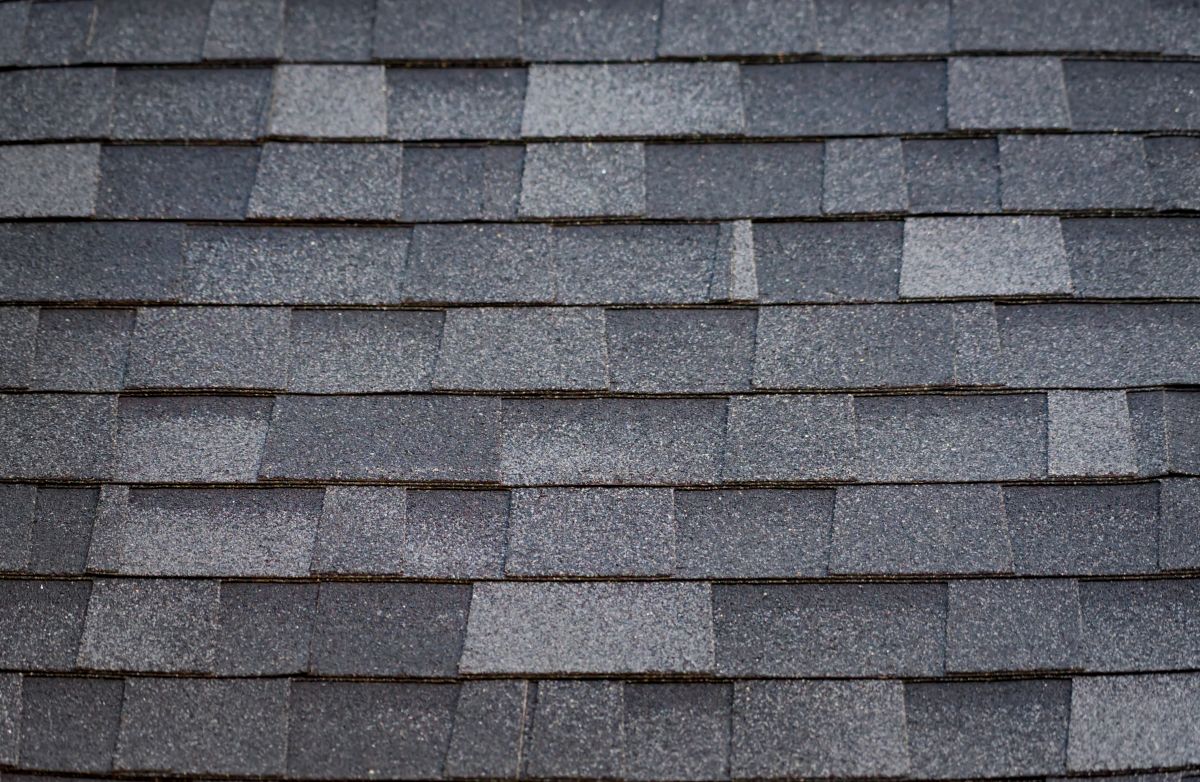
Roofing
Architectural Shingles Installation Guide (9 Pro Steps)
Installing architectural shingles is one of the more satisfying phases of any roof replacement, but the difference between a roof that lasts 25 years and one that fails inside a decade often comes down to installation technique rather than the material itself. This how to install architectural shingles guide walks through the exact steps professional roofing contractors follow on every job, from underlayment prep through final ridge cap installation. Whether you are researching the process before hiring a contractor or trying to understand what to expect during your own replacement in Denver, the steps below cover the core installation methods, common mistakes to avoid, and what separates a professional job from a shortcut. To see how these steps fit into the larger project, our full replacement approach covers everything from tear-off through final walkthrough.
Here is what this guide covers:
- Preparation basics: What needs to happen before the first shingle goes on.
- 9 professional steps: The full installation sequence from starter course to final ridge cap.
- Material comparison: How architectural shingles stack up against other roofing materials.
- Common mistakes: Installation errors that shorten the lifespan of a new roof.
- Frequently asked questions: Answers to what homeowners search for most often.
Preparation Before the First Shingle Goes On
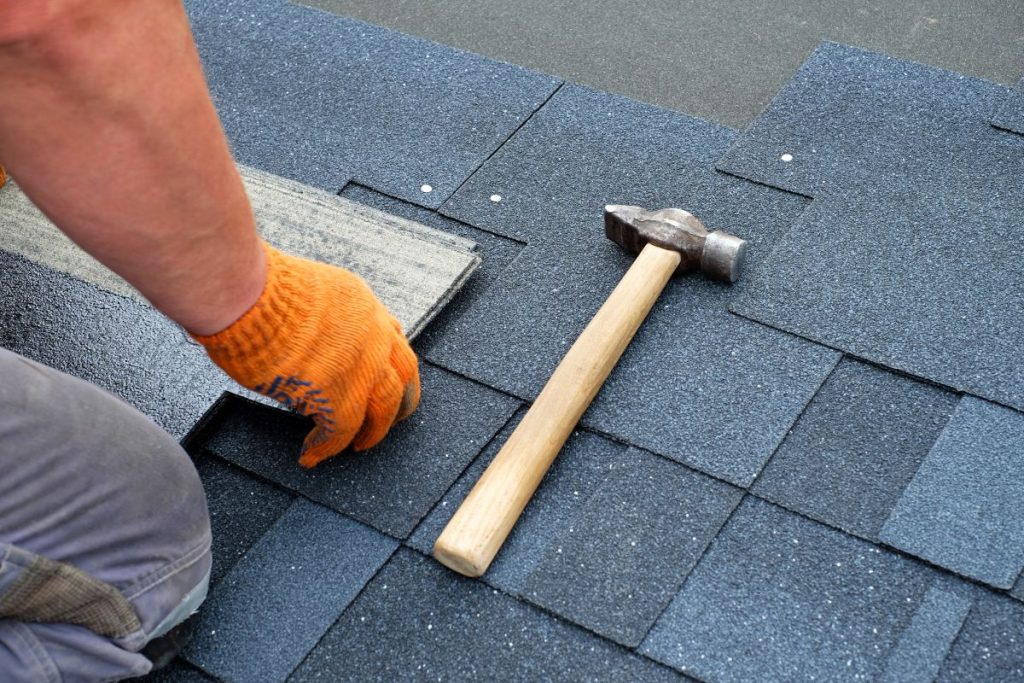
A successful installation starts long before anyone opens a bundle. Roof underlayment, roof deck condition, flashing prep, and ventilation all need to be addressed first, since problems ignored underneath a new roof will show up as leaks, buckling, or premature failure within a few years.
Deck Inspection and Underlayment
Every roof deck should be walked, inspected, and repaired before the roof underlayment goes down. Soft spots, rotted sheathing, and popped nails all need attention now rather than after the shingles are installed. Once the deck is solid, a synthetic underlayment or felt paper gets rolled out and fastened according to manufacturer specifications.
- Deck condition: Replace any sheathing that shows rot, soft spots, or delamination.
- Ice and water shield: Install along eaves, valleys, and around all roof penetrations to prevent leaks when melted snow refreezes.
- Synthetic underlayment: Roll out across the entire deck with proper overlap and fastening.
- Drip edge installation: Install drip edge along eaves before underlayment and along rakes after underlayment.
- Ventilation check: Confirm intake and exhaust venting is adequate before starting installation.
9 Pro Steps for Installing Architectural Shingles
The full installation sequence below reflects how professional roofing crews install architectural shingles on residential projects, following manufacturer specifications and current building code requirements throughout the process.
1. Install the Starter Course
The starter course sits along the eave and gives the first shingle course something to seal against. Skipping the starter course or substituting cut three-tab shingles instead of proper starter strip is one of the most common shortcuts that leads to wind uplift failures during storm events.
- Starter strip: Use manufacturer-approved starter, not scrap or leftover roof shingles.
- Overhang: Extend starter about a quarter inch past the drip edge.
- Seal strip: Position adhesive strip along the eave edge for proper bonding.
2. Snap Chalk Lines for Alignment
Chalk lines keep the shingle courses straight across the entire roof plane, which matters both visually and for water shedding performance. Crooked courses look sloppy from the ground and can create uneven exposure that shortens the overall lifespan of the new roof.
- Horizontal lines: Snap every three to four courses to keep exposure consistent.
- Vertical lines: Snap to keep offset pattern uniform across the roof plane.
- Reference points: Measure from ridge and eave to verify square before snapping.
3. Install the First Course
The first course sits directly on top of the starter and establishes the pattern for the rest of the roof. Each shingle gets fastened with the correct number of nails, placed in the manufacturer-designated nailing zone, driven flush without over-driving or angling.
- Nail placement: Drive nails only in the designated nail line on each shingle.
- Nail count: Use six nails per shingle in high-wind zones, four in standard areas.
- Nail depth: Set flush with the shingle surface, never over-driven or angled.
4. Stagger Subsequent Courses
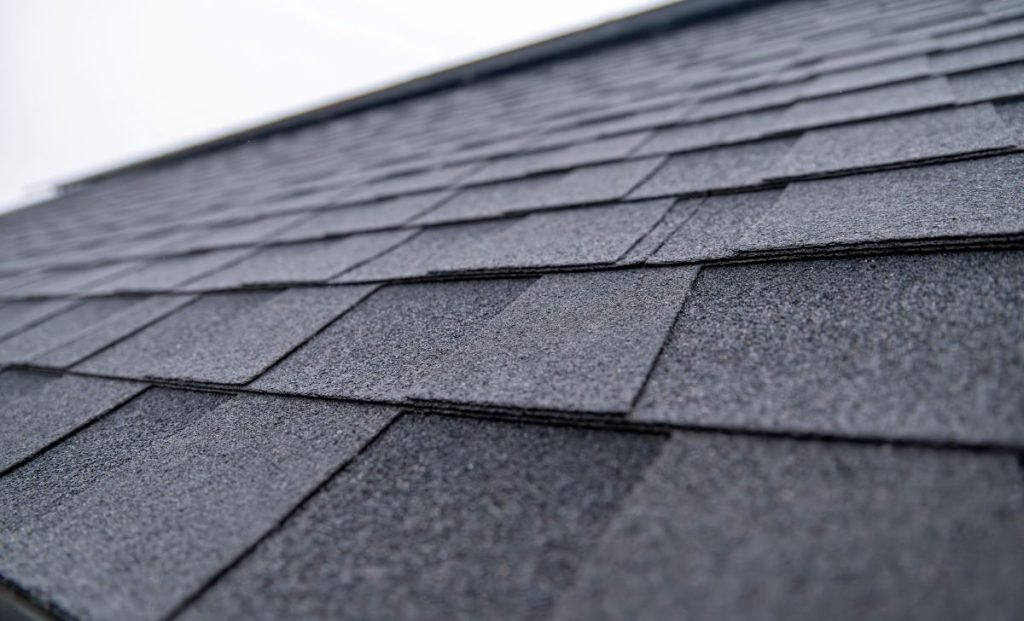
Architectural shingles are installed with a staggered offset pattern that prevents seams from lining up between courses. This pattern is critical for water shedding and appearance, and most manufacturers specify an exact offset dimension in their installation instructions.
- Offset spacing: Follow manufacturer-specified offset, usually five to six inches.
- Pattern consistency: Maintain the same offset direction across the entire roof plane.
- Cut shingles: Save cut pieces from row ends to use as starters on the next row.
5. Handle Valleys Properly
Valleys carry more water than any other part of the roof, and improper valley installation is a leading cause of leaks on architectural shingle roofs. There are two main methods, closed-cut and open metal flashing, and each has its place depending on the design and pitch of the roof.
- Closed-cut valley: Shingles from one side extend across, shingles from the other are trimmed.
- Open metal valley: Metal flashing sits in the valley with shingles trimmed back on both sides.
- Ice and water shield: Always install underneath valleys regardless of the finish method used.
6. Install Flashing Around Penetrations
Every pipe, vent, chimney, and vertical wall needs proper flashing to keep water out. Reusing old flashing during a replacement is one of the most common shortcuts contractors take to save time and material cost, but it almost always leads to leaks within a few years of installation. Asphalt plastic cement is used sparingly where manufacturer specifications call for it around specific flashing details.
- Pipe boots: Replace with new lead or rubber boots, never reuse old boots.
- Step flashing: Install fresh step flashing along walls, sidewalls, and chimneys.
- Counter-flashing: Add counter-flashing over step flashing at masonry walls and chimneys.
7. Nail Off Cleanly Course by Course
Nailing is one of the most inspected details on any architectural shingle install because incorrect nailing causes more premature failures than almost anything else. Nails placed too high, too low, or driven at an angle all void manufacturer warranties and reduce wind resistance significantly, especially on steep slope roofs that see stronger wind exposure.
- Nailing zone: Nails go only in the manufacturer-marked nail line.
- High-wind areas: Six-nail pattern is required in most Colorado wind zones.
- Ring-shank nails: Use ring-shank roofing nails for better hold in Denver storm conditions.
8. Install Ridge Vent and Ridge Cap Shingles
The ridge is the final step and also one of the most visible parts of the finished roof. Hip and ridge caps are designed specifically for the ridge line and should not be substituted with cut three-tab or field shingles. Proper ridge ventilation also gets tied in at this stage to help prevent conditions where ice dams form along the eaves during winter.
- Ridge vent: Install continuous ridge vent before cap shingles when ventilation requires it.
- Cap shingles: Use manufacturer-approved ridge cap shingles, not cut field shingles.
- Overlap direction: Install caps overlapping away from the prevailing wind direction.
9. Final Cleanup and Quality Control
The last professional step is thorough cleanup and quality control across the entire finished roof. A magnet sweep catches stray nails around the perimeter of the house, gutters get cleared of granules and debris, and the entire roof gets walked one final time to confirm every shingle layer meets specifications.
- Magnet sweep: Walk the perimeter of the home to catch loose nails.
- Gutter check: Clear granule buildup and any debris from tear-off.
- Final walkthrough: Inspect flashing, ridges, valleys, and shingle alignment before signoff.
Architectural Shingles vs Other Roofing Materials
Understanding how architectural shingles compare to other common residential roofing materials helps homeowners make an informed decision about which system best fits their budget, aesthetic preferences, and long-term goals.
| Material | Average Lifespan | Cost Range | Best For |
| Architectural shingles | 25 to 30 years | Mid-range | Most residential homes |
| Three-tab shingles | 15 to 20 years | Budget-friendly | Rentals, short-term ownership |
| Metal roofing | 40 to 70 years | Premium | Long-term investment homes |
| Synthetic composite | 40 to 50 years | Premium | Fire-rated and impact-rated needs |
| Cedar shakes | 20 to 40 years | Premium | Traditional aesthetics only |
According to EnergyStar, reflective roof products can help lower cooling costs by reducing rooftop temperatures, which is why many architectural shingle manufacturers now offer cool-roof options in their premium product lines.
We’re proud to serve home and business owners in Denver, CO, and nearby communities with full architectural shingle installations and more.
Common Architectural Shingle Installation Mistakes
Even experienced roofers can make mistakes that shorten the lifespan of a new roof, and homeowners who understand the most common errors are better equipped to ask the right questions before hiring a contractor for the job.
- Wrong nail placement: Nails driven above the nailing zone void warranties immediately.
- Reusing old flashing: Old pipe boots and step flashing almost always leak within a few years.
- Skipping starter strip: Cut three-tab shingles used as starter cause blow-offs during storms.
- Poor ventilation: Inadequate intake or exhaust venting shortens shingle life significantly.
- Ignoring ice barriers: Skipping ice and water shield in valleys leads to leaks.
Frequently Asked Questions About Architectural Shingle Installation
Homeowners researching architectural shingles tend to ask a similar set of questions before hiring a contractor, and getting clear answers ahead of time makes the entire decision easier to manage.
How Long Does Architectural Shingle Installation Take?
Most residential architectural shingle installations wrap up in one to two working days, depending on the size and complexity of the roof. Larger homes, steeper pitches, and roofs with multiple valleys or dormers can add additional time to the schedule.
Can I Install Architectural Shingles Over My Existing Roof?
Layering new shingles over old ones is technically allowed by some local codes, but it is almost always a shortcut that causes problems down the line. A proper tear-off allows for full deck inspection, correct underlayment installation, and a longer overall lifespan on the new roof.
What Nailing Pattern Is Required in Colorado?
Colorado’s high-wind zones typically require a six-nail pattern on every architectural shingle rather than the standard four-nail pattern used in calmer regions. Following the six-nail specification is critical for wind warranty coverage on most manufacturer product lines.
Do Architectural Shingles Need Special Underlayment?
Standard synthetic underlayment works well for most architectural shingle installations, though ice and water shield is required along eaves, valleys, and around all roof penetrations. Manufacturer specifications should always be reviewed for any product-specific requirements before installation begins.
Trust Your Architectural Shingle Installation to Summit West Contracting
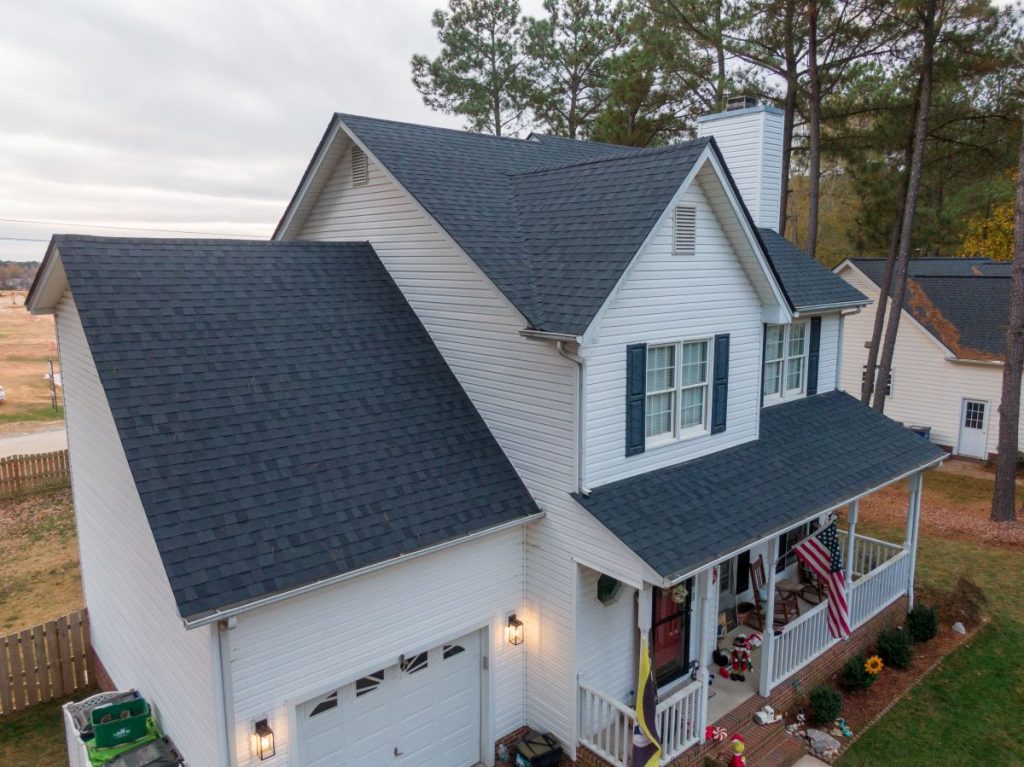
Getting architectural shingles installed correctly comes down to attention to detail at every step, from the starter course through the final ridge cap. Summit West Contracting is a veteran-owned Colorado business that follows manufacturer specifications on every project, uses proper materials rather than shortcuts, and documents each phase of the installation for homeowners who want visibility into the process. Denver homeowners deserve a roof installed the way it was designed to be installed, backed by strong manufacturer warranties and real accountability. When you are ready to move forward, reach out to talk through your project and get a clear picture of what your installation will look like from start to finish.

